Liquefy is a filter that let you push, pull, turn, reflect and fill out any area of an image. The movement you create can be thin or harsh, which makes liquefy command a powerful tool for retouching images as well as some skillful effects.
How to use the liquefy tool:
The liquefy tool is one of the most important tool in Photoshop for image editing. It will help you to push and pull pixels how you want.
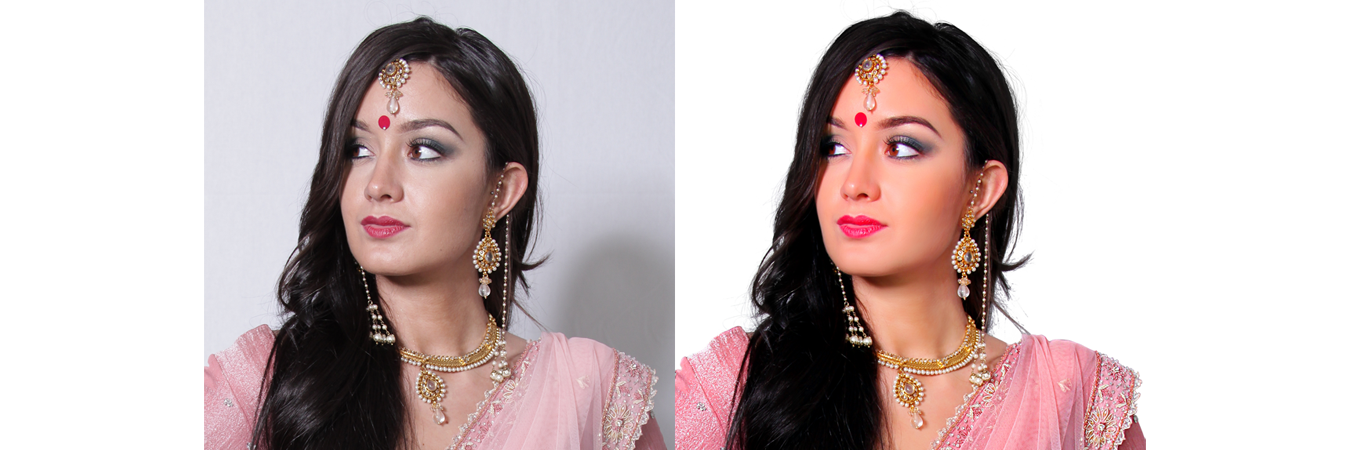
It is a general error that the liquefy tool is only used for making people thinner. In this article I will explain you the great use for the liquefy tool- fixing and adjusting clothing. I will tell you some key techniques for liquefy tool:
Change Brush size often: Each area of your image probably need different size of brush. The fast way to change your brush tool in Photoshop is to hold Ctrl+Alt and click and drag your mouse to the left or right. When using a pc be sure to right click.
Brush Pressure: It is better to use less pressure brush tool rather than high pressure brush tool.
Brush Density: Keep your brush density on the higher end. It will help to work with more large area of your image.
Brush Rate: You can find the brush rate option in liquefy dialog box. This option allows you set brush speed while you will work on the image.
Stylus Pressure: Another option you can set weeding images to adjust stylus pressure. But this option is only available when you work with a stylus tablet.
There are several tools for liquefy. You will see more details bellow:
Forward Warp Tool: This is one of the valuable tools for liquefy. It will allow you to push the pixels of an image forward as you drag. To control the pixels you push and adjust the brush size as per your need. To adjust your brush size you find “Brush Options” on the right toolbar.
Wrinkle Tool: This is another tool that helps you moves the pixels toward centre of the brush area. To move the pixels towards the centre, drag on the image and it will woks simply.
Twirl Clockwise Tool: Another tool is twirl clockwise tool that allow you adjust your image in Photoshop. Twirl clockwise tools rotates the pixel clockwise. To rotate the pixels clockwise, click and drag on the image.
Bloat Tool: This is another tool for liquefy which will help you work with weeding photos. The bloat tools help you moves the pixels away from the centre of the brush area. To move the pixels away from the centre, drag on the image.
Distort the Image: This is one of the ways for liquefy in a fast way which takes few steps.
- Select the layer to distort. But if you want to distort a specific part or area then select the specific area.
- Click filter and select liquefy.
- Choose any of the liquefy tools listed above to make distortion.
- Click “OK” to close the dialog box and apply the distortion.
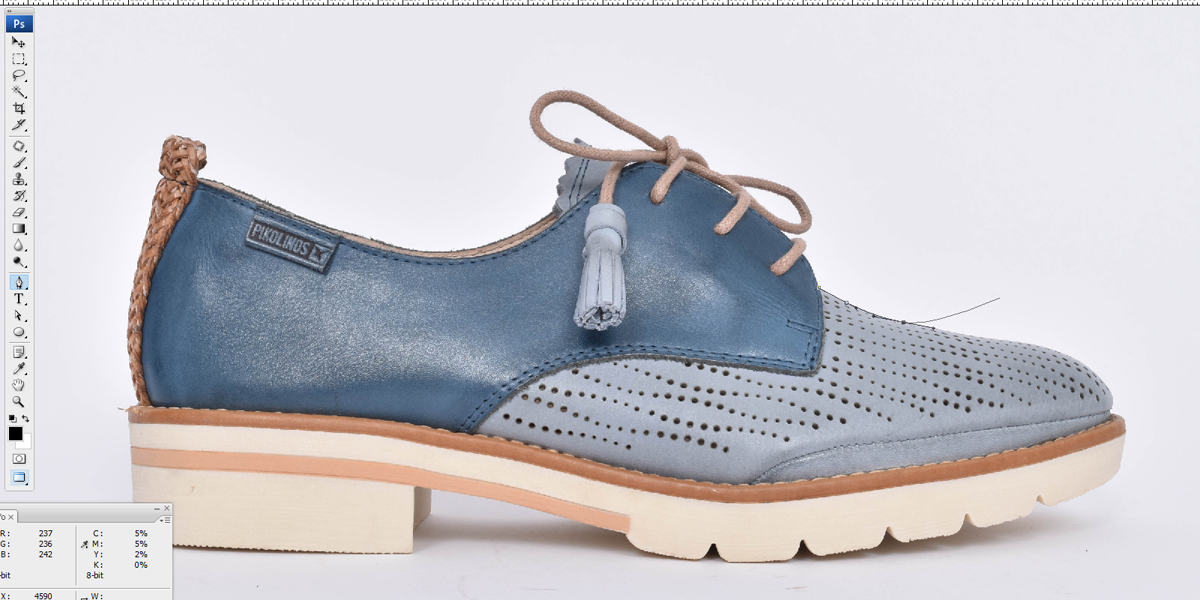
I hope the above article will help you to make your images looks better by using liquefy. Specially, nowadays for ecommerce shop it is very important and becoming popular. Clipping photo India invites you to get such as services with very reasonable price. To know more details please visit our website and send us email to get quotation for your images.