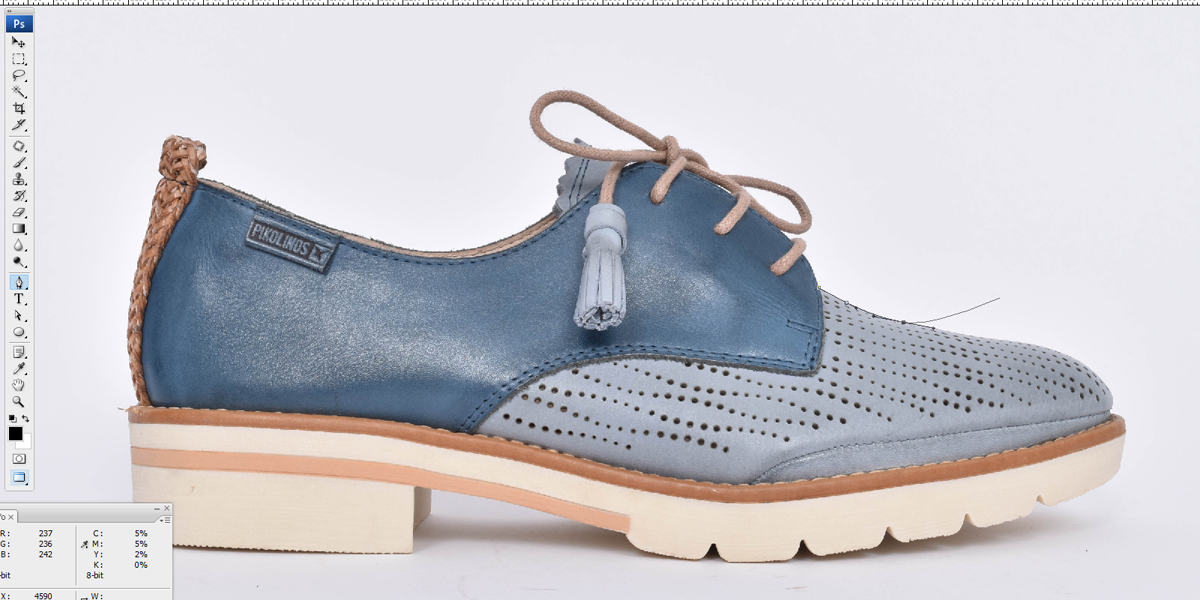
Image retouching is an image editingtechnique that can be used in editing software such as Adobe Photoshop to easily touch up blemishes, correct red eye, whiten teeth, and fix so many other imperfections that may come with your images. There are a whole host of awesome post-processing tools available for making these minor edits on images. Such tools within Photoshop are Healing brush and spot healing brush tools. However, when it comes to intense photo “surgery”, Clone stamp tool is the best option, as there is no substitute for it. This feature is only present in Photoshop and Photoshop elements.
Image retouching can be easily done with the use of the clone stamp tool on the Clone source panel. The clone stamp tool is a tool that selects and samples out a part of your picture and then makes use of pixels to paint over every existing marks or blemishes. The clone stamp tool is more or less like a brush tool, which you can change its size so as to enable you to clone from the width of one pixel over to hundreds. Clone stamp tool is not a sophisticated tool to work with, and getting started with it is simple. The two main tips to take note of are: your target area (that is, where you want to replace) and source area (that is, where you want photoshop to pick the replacement pixels from). The more step by step actions to take in achieving your desired retouched images using this tool is as follows:
- Work on a new layer
The first thing for you to do is to create a new layer to work on before making any changes to the image with the tool. Any changes that you want to make should be on the new layer that you created. You need to do this because: firstly, it is non-destructive (that is, the underlying pixels of your image are not affected). Also, you can delete the created layer anytime you feel that you don’t like the changes which you are making.
To create a new layer, press Ctrl + J to create a duplicate. You can also use Shift + Ctrl + N to create a new blank layer, only that you must need to select “All Layers” option as your source in the clone stamp tool settings.
- Zoom in (as much as you can)
Zoom in on the area that you are working on, say up to 100% or more. This will aid the isolation of the area that you are working on and will provide you to work with a much greater detail than you otherwise would. Zoom in, and make your changes smooth as much as you can, so that the changes will look indistinguishable and blended when you zoom out.
You can use the keyboard shortcut to easily zoom in and out. It’s either you press and hold the Alt key on your keyboard with one hand and roll the scroll on your mouse to zoom in/out, or you press Ctrl and the +/– key on your keyboard.
- Set your brush size quickly
Trying to change the brush size through the brushes panel might be cumbersome. However, you can use the keyboard shortcut. The left bracket [ makes the brush smaller while the right bracket] makes the brush larger.
- Set the Proper Brush Hardness
You should set the hardness of your brush at 0% level, so as to easily blend in the effect. However, 50% hardness level is considerably okay. But, the hardness level should not be at 100%.
- Clone without Adjustments
Your cloning should be done before any other adjustments are made. This will ensure that your changes are been effected into your picture.
- Then, watch for patterns
- Avoid selecting from Adjacent areas
- Use the mirror function
- Change the cloned areas with adjustment layers


